
DNS records in DirectAdmin
Add or change records in DirectAdmin, and how this relates to the customer panel.
Does your domain use your hosting server's nameservers? Then the DNS records live in DirectAdmin. You can manage them in two places, with the same result:
- in the customer panel: Services → Domains → your domain → Manage DNS records. This is easiest, especially if your domain is also registered with Knippin. See Managing DNS records;
- in DirectAdmin: Account Manager → DNS Management, described below.
Viewing and adding records
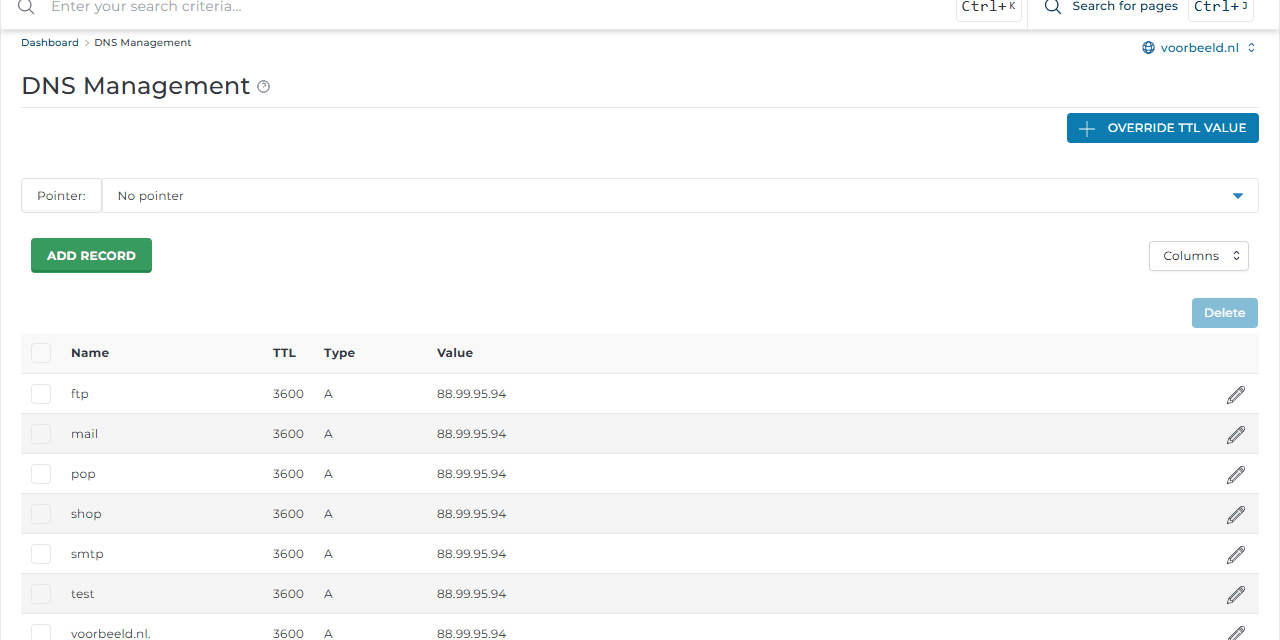
- Go to Account Manager → DNS Management. You see all the domain's records with Name, TTL, Type and Value.
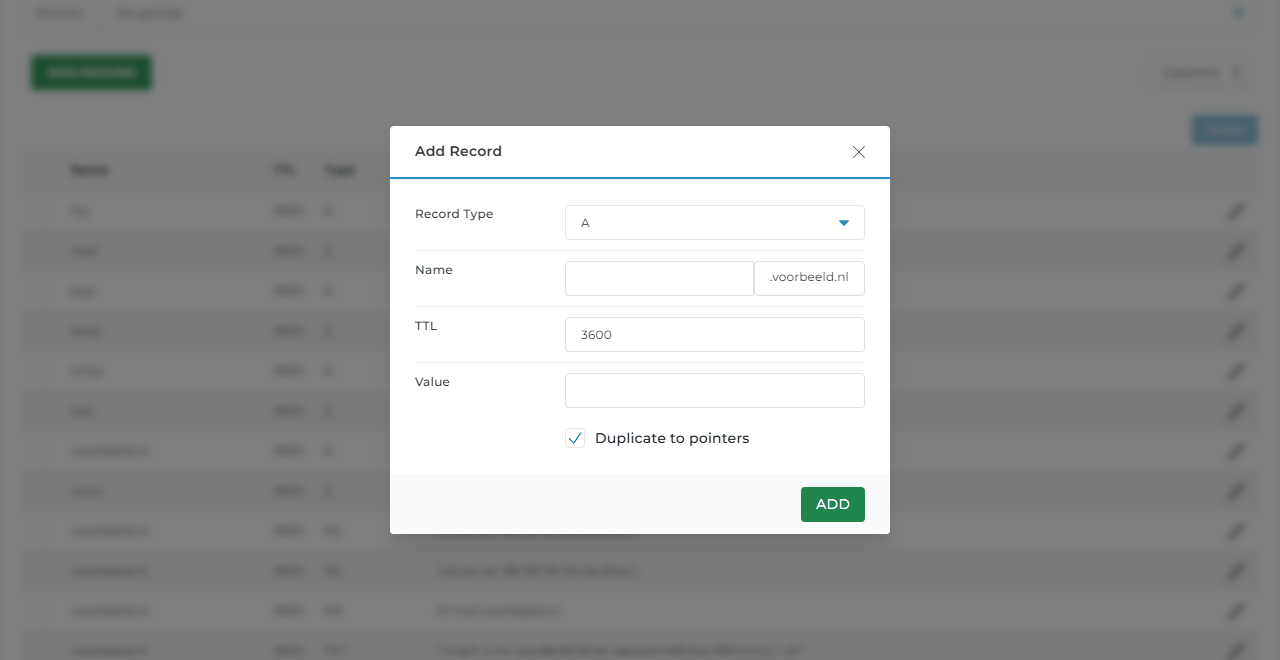
- Click Add Record.
- Choose the Record Type, for example A, CNAME, MX or TXT.
- Enter the Name: only the part in front of your domain, for example
wwworshop. Leave it empty for the domain itself. - Enter the Value and usually leave the TTL at its default.
- Click Add.
Use the pencil icon to change a record. Tick records and click Delete to remove them.
Have domain pointers? Duplicate to pointers adds the record to those domains as well.
Email with another provider
Using Microsoft 365 or Google Workspace for email, for example?
- Go to E-mail Manager → MX Records.
- Point the MX records to that provider's servers. For well-known services, pick them under MX Template; otherwise your email provider gives you the values.
- Untick Use this server to handle my e-mails and click Save. Otherwise the server keeps delivering mail for your own addresses locally.
A wrong MX record can stop all your email. Not sure? Create a ticket.
Good to know
- Changes usually work within a few minutes, but other servers may remember the old value until the TTL has passed.
- Do not delete the
mail,ftp,popandsmtprecords if you use email or FTP at Knippin. - Override TTL value sets one TTL for all records. Usually leave this alone.
- For an explanation of each record type, see Managing DNS records; for email security, see SPF and DMARC and Adding a DKIM record.